The perfect montage relies on your ability to cut out subjects and place them onto backgrounds that they aren’t originally from. like placing a plane in the sky or a horse and rider in the gallery. this can be a very difficult task because they lighting of the two images is often different, be it that the brightness and exposure of the image is different of the direction of the lighting completely changes.
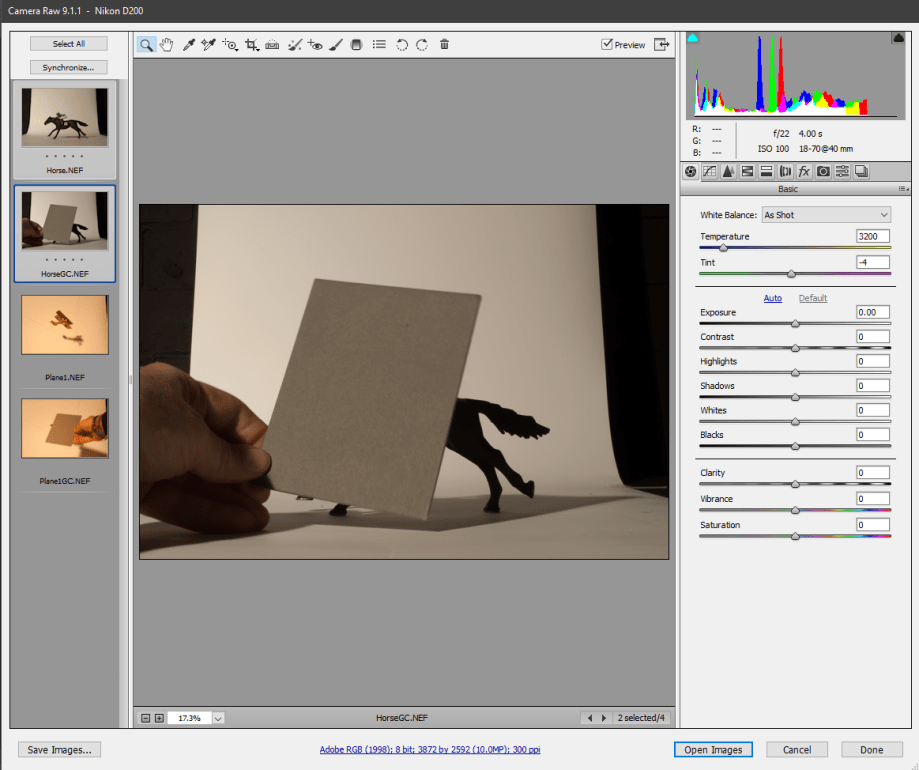
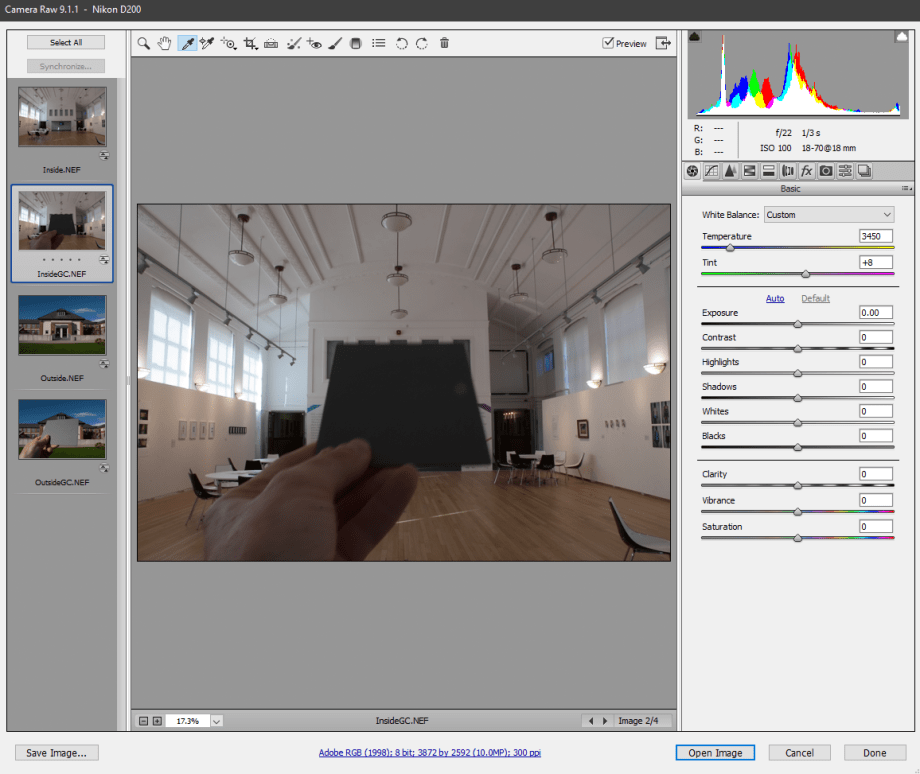

Opening the raw images opens camera raw. this window allows us to change the white balance of an image very quickly and easily when you have 2 images that are the same and a grey card. Click on the image with a grey card first, hold Ctrl (Options on mac) and select the image without a grey card. Click on the white balance pipette tool and the click in the middle of the grey card, this will change the tones of the rest of the image to match that of the neutral grey on the card, this means that all of the colours and tones of the image will be as lose as possible.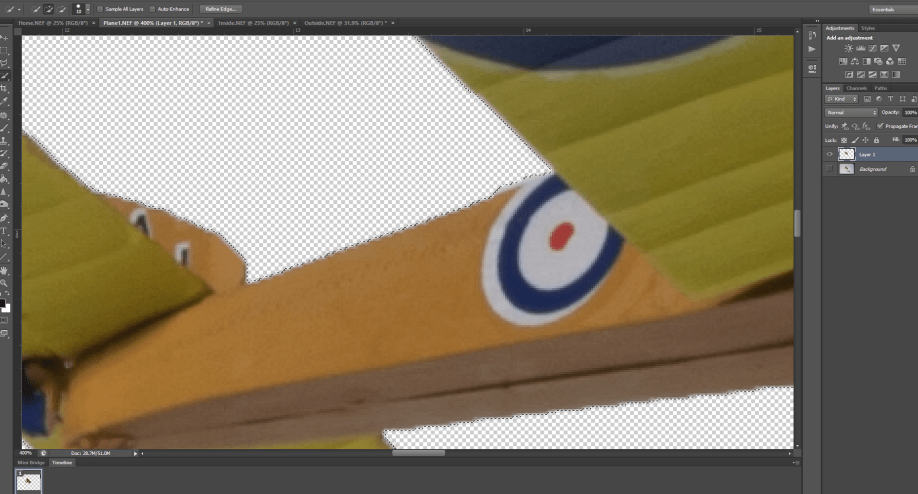
When you have changed the white balance of the images. select them all and open them. Click the tab that has the subject in it, and press Ctrl + J (Options + J on mac), this will create a duplicate layer so everything that we edit will impact the layer that we have selected and we will always have a original copy. add a layer mask to make it easier to cut out the subject, then using the quick select tool, select the background of the image (this will be easier if the subject is a different colour to the background and the background is a solid colour). you can now use the black paint bucket to quickly remove the background of the image. select all, copy it and then open the background image that you want to put the subject onto.
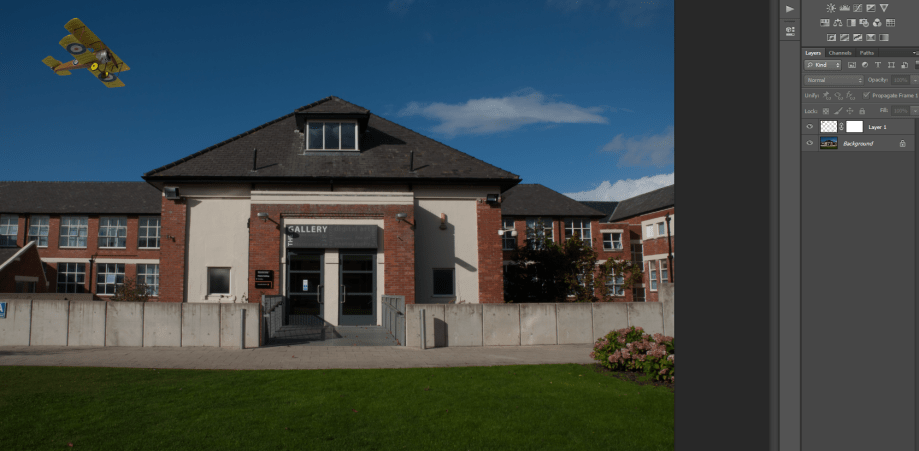
After pasting the subject onto the background, re-scale it so that it fits the image and is the size that you want. add another layer mask, zoom into the subject and begin to trim the edges back on the subject. this will remove any white halo or trim around the subject making it fit better with the background that its now on. be careful to match the softness of the edges with the softness of the background, bear depth of field in mind as much as you can too. the final step is to look at the lighting of the subject compared to that of the background that it’s been placed on. in my case it wasn’t much different, other than the bottom of the plane was lit and far too bright. I used the burn too to darken the bottom of the plane casting a shadow across the underside, matching the shadows cast in the background a little more. this gives it a more realistic look and feel.
This can be a really complex and difficult task if the two images that you’re trying to montage don’t match and have very different tones and lighting. that being said, you should be able to montage almost anything with enough time and practice. getting the lighting and shadows will be the most difficult part in my opinion, without knowing how the background was lit, it can be hard to tell what kind of lighting effect you should go for on the subject.
 HouseOfMadness