Floating Boat –
This is a really simple trick that can be used to make some really cool look image when you do it correctly. All this involves is an object, or a few objects, that are being suspended in the air by something that you can easily take out. Fishing wire and dental floss work really well for this as they hardly show up on the photo.
For this example, the ship was sat on top of the egg cups in the first image, then there was a supporting file for the background of the image without the ship at all. This allows you to remove the egg cup without having to clone stamp it out which can be difficult when there is a pattern or textured finish. And the third shot is creating a shadow on the window sill.
When you shoot with a grey card, you need to open all of the files at the same time into Camera RAW. Select the image with the grey card first and then hold Ctrl (Cmd on mac) and left click the rest of the images. this will allow you to make changes to all of the images at once, while leaving the grey card image open on top. Select the White Balance tool, and click somewhere near the middle of the grey card. This will change he white balance for all of the images at once without having to do much work.
After opening all of the images there will be 4 separate windows for each of the files. Open the tab of the your background supporting file and this will become the file that you work on. Open one of the other tabs, left click, drag and drop the layer onto your background image. This will create a new layer with a copy of the image you just dragged across on top. Similar to what you see below. I have already moved all of my layers across onto one.
My layers already have layer masks applied to them because I find it a little easier to screenshot the steps after i have done them instead of while I’m doing them (if i make a mistake i have to go back and take the screenshot again and it becomes a mess of 30 screenshots in random orders). There are a couple of different things that you can do now, you can either make a selection around the subject and apply the layer mask which will leave you with a small area that you need to work with and edit. Or you can apply the layer mask to the whole layer, and cut it down manually while you are editing out of the strings or extra objects. When editing on a layer mask, white means you can see the layer, while black means you can’t. So any parts of the layer that you paint with black (while on the layer mask) will be cut away to reveal whats underneath. With this in mind, you can now cut out all of the strings, objects and other stuff that you don’t want to see.
This is what mine looks like after i have cut the egg cups out. The ‘background’ layer for mine is being used a little differently, instead of being the layer that I’m using for the actual background, it’s being used as a fill layer, filing in any of the blank spaces that are being left behind when i cut something out. This is because the boat is actually sat on the Sofa in the bottom right of the image where the grey card was sat so i would have to edit that out as well if i wanted to use this as the base layer.
This small black card is being used to cast a shadow under where the ship is sat. It’ snot needed for this shot because of how faint the shadows are from the window itself, however it just makes it a little more believable and realistic. All i needed to do with this layer is cut away the excess from around the shadow, making sure that all of the edges lined up.
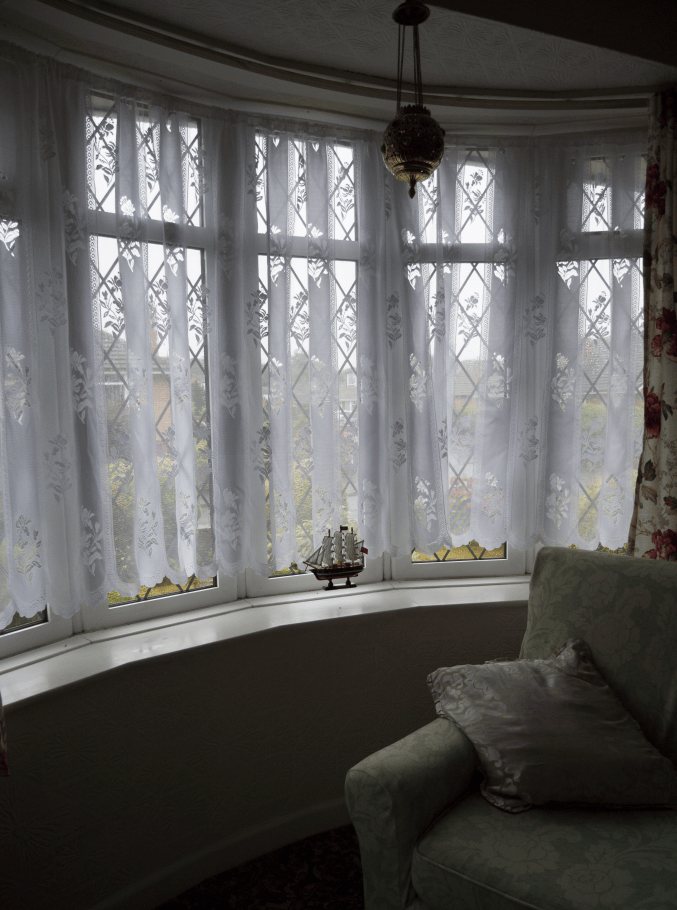
This is the final image with my floating boat. You can make one of these as small or as large as you want to. It all depends on how much work you want to put in. This is a really fun thing that you can do, and you can be really creative with the subject and if done properly you wont be able to tell that it has been edited at ll, the subject will look like its floating naturally. This can also be used to add things into a shot or fake images, but that will take a lot more work. When doing something like that, it will be unlikely that you are working with 2 images that have been shot in the same light and from the exact same angle, meaning that you will have to manipulate how the light falls on your subject and get a little more creative and in depth with the way that you cut them out. You can test this by trying to add something like an animal jumping over a wall or furniture in a photo that you have already taken. You’ll soon notice that it becomes a lot harder.
Concept Car –
This Section is going to be looking at using the Liquify too and solid fill colour to manipulate you image.
Ill be using this Mercedes for my example but you can do this with nearly everything. the smaller or more intricate the subject, the more difficult it will be to warp and to cut out.
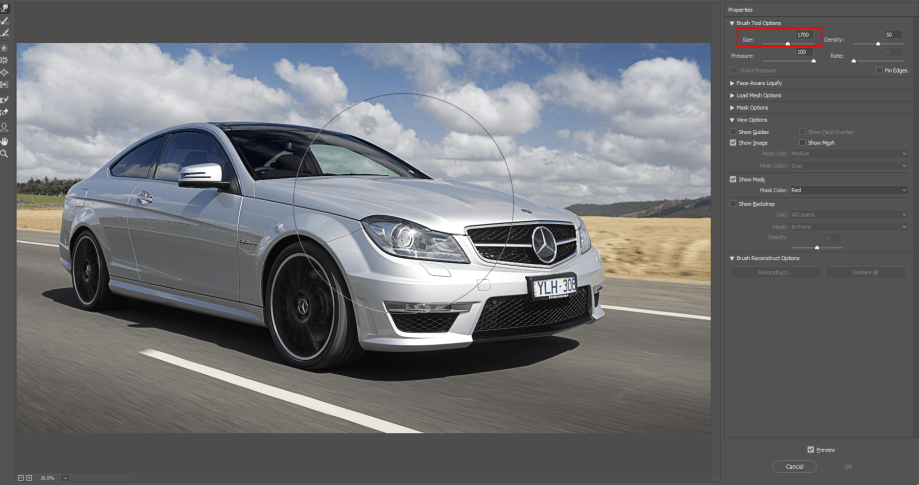
Start by making a duplicate of your background layer with Ctrl + J ( Cmd + J on mac). This means you can always go back to the original layer if you make a mistake, it’s called a non-destructive workflow. You can just use the history tool for the same effect but you never know what will happen. Once you have the duplicate layer, open the liquify tool, which can be found in the filter tab at the top of the window, or use the keyboard shortcut Shift + Ctrl + X. I found it quite hard to explain how the liquify tool works, and why you need a large brush size, so i made a short video instead.
As you can see its a lot harder to get a smooth finish with the small brush as it makes harsh adjustments. The large brush is smoother and easier to handle. Always try to keep the area you want to effect in the centre of the brush as much as possible too. I havent changed the bottom of the car much because i dont want to altar the shadow and the lines on the road too heavily. This saves making a new shadow later on and also saves having to fix the white line (Which i needed to do anyway seeing as its no longer straight but i still forgot)
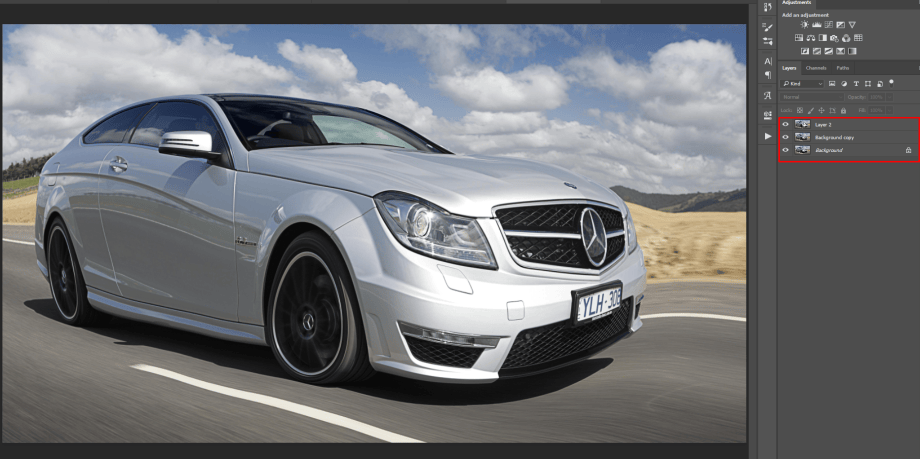
Now we have the layer thats been warped, we will need another background copy. This is so you can cut out the warped layer and place it back onto the background that hasn’t been warped using a layer mask. Because the shape of the car is so different now some of the car on the layer below may be showing through, this is where the clone stamp tool will come in, you can edit and fix the background to look natural when using the clone stamp tool. 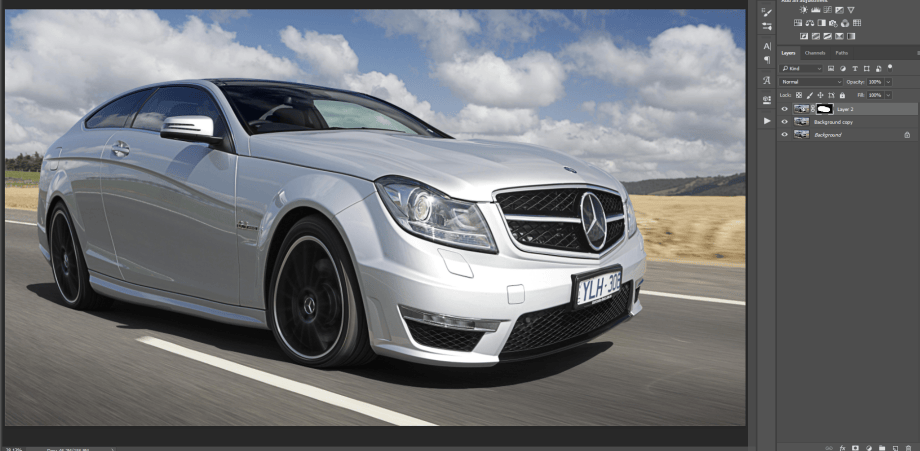
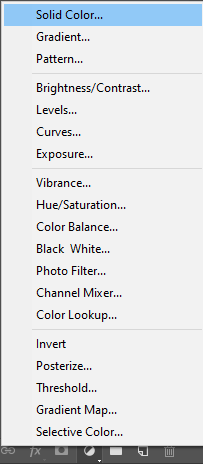
After you apply the solid fill colour, make sure that the layerdirectly above the layer that you have warped and cut out. Unlike adjustment layers, you cant apply this layer directly tothe one below it (As far as i am aware). so instead, right click the layer mask from when you cut the car out and choose ‘add mask to selection’. Youll see the marching ants around the car and the area that you have cut away. Now when you add a layer mask to the solid fill, it will automatically great the layer mask with the same area as your subject. Change the blending mode of the solid fill layer to ‘Colour’. Now you just need to go around with a black brush and cut out the rest of the areas that you dont want coloured. For me those areas were, the front grill, wheels, lights, windows and the shadow. 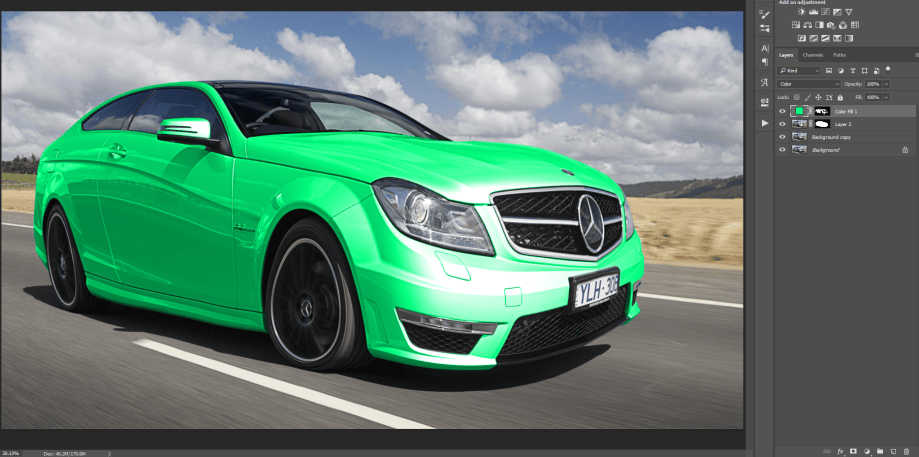
You now have your own concept car.
This toll isn’t one that you see used a great deal due to the nature of it. It can be hard to control and cause more damage to the image that it does help, but it still has its uses, however i don’t think that its going to be used to make and fake many images. Other than the odd Instagram picture.
Hair Masking recap and colour cast –
Hair masking and colour cast are two techniques that are simple on paper but a little more difficult to perform. Colour casting can be hard to get right when the monitor that you are using isn’t colour calibrate. However with the hair masking, I don’t know how it really works, so I don’t know what causes any of the issues or bugs. It uses a refine edges tool which means that it will need to be able to tell where the edges of the hair end and where the background begins. I think this is what causes the issues when there is too much of a colour difference between individual hairs or the reflection on the hair, or when there isn’t enough of a difference between the colour of the background and the colour of the hair. This will only be a short step by step recap as i have already covered this in on of the previous blogs.
The first step is to deal with the colour cast of his head. We can do this by adding a curves layer and then adding the opposite colour or taking away the colour of the tint. In this case, it has a magenta tint to the image which means that we will need to add green to reduce that. when adding green. His hair still had a blue tint so i have also reduced the blue in his hair, making it into more of a black instead of purple. I have also taken some red out to balance the lack of blue.
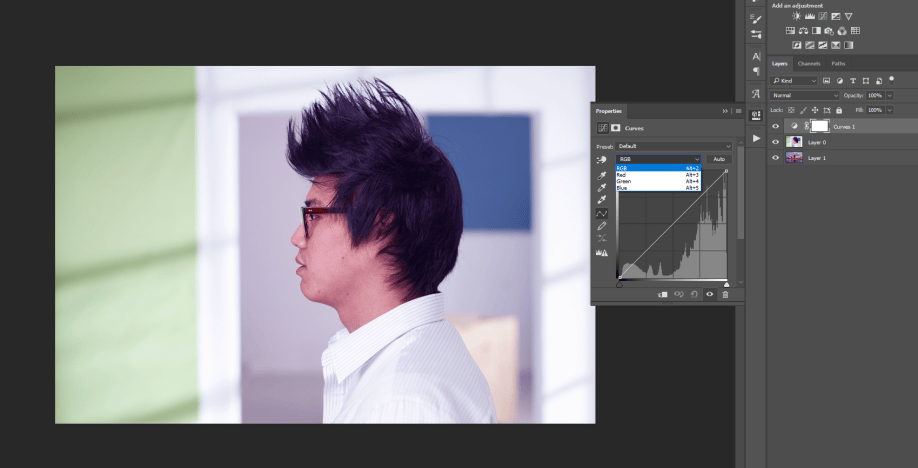
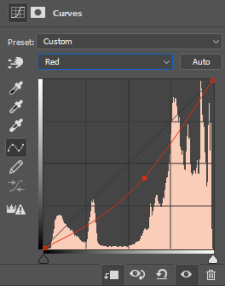
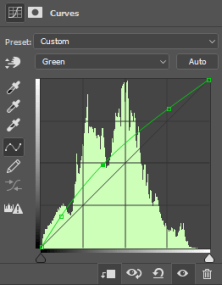
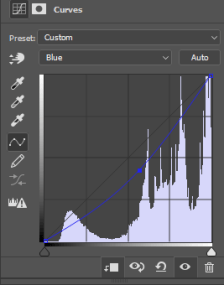
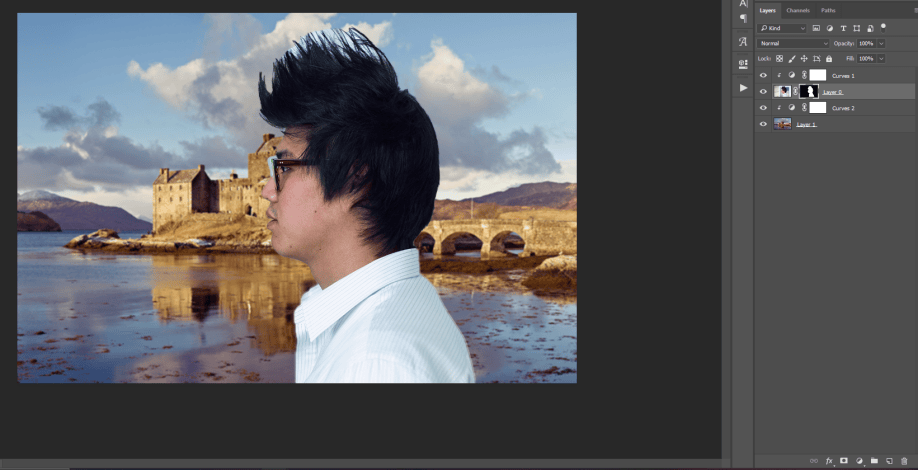
Using the quick select tool we need to select his whole head and make sure not to miss the lenses of his glasses and part of his nose. The double click the layer mask icon to open the properties window.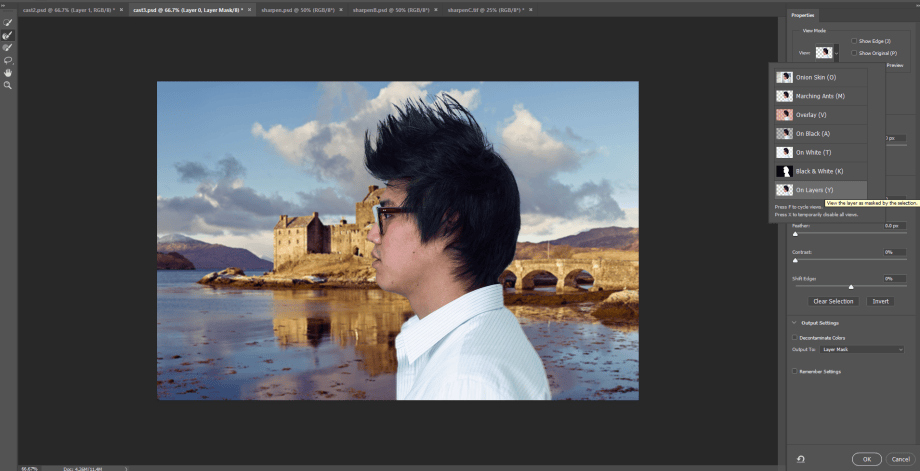
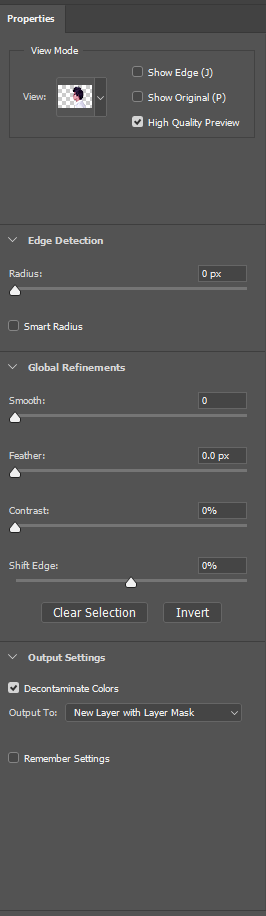
Using the refine edges brush (2nd down on the left) paint around his hair and try to get all the thin wispy bits but avoid going into the middle of his hair as much as possible. When you have finished this, scroll down the tab on the right side and select decontaminate colours. This will fix up the colours and the pixelated effect that’s left behind by the brush.
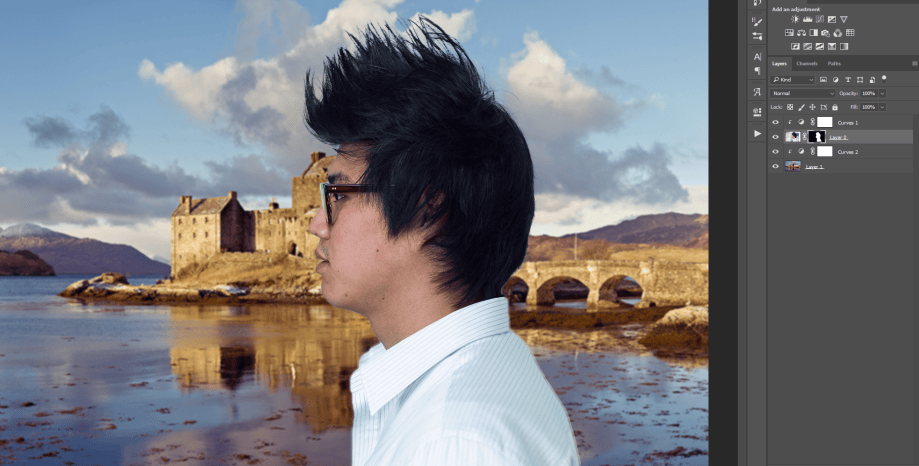
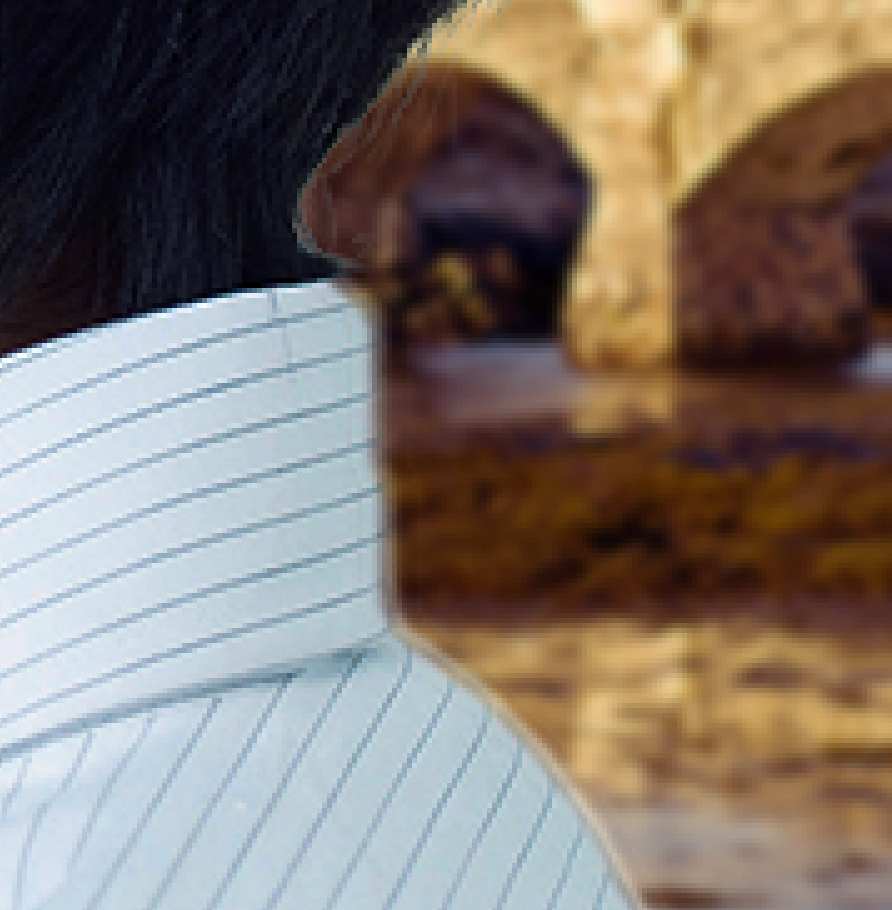
Now you are going to be left with this weird halo around your subject. All you need to do to remove this, is use the black brush on the layer mask, with about 80% hardness, hold shift and click your way around the outline of the image. My background does have a curves layer of its own because it too had a colour cast of magenta, but i didn’t think i needed to show that twice.
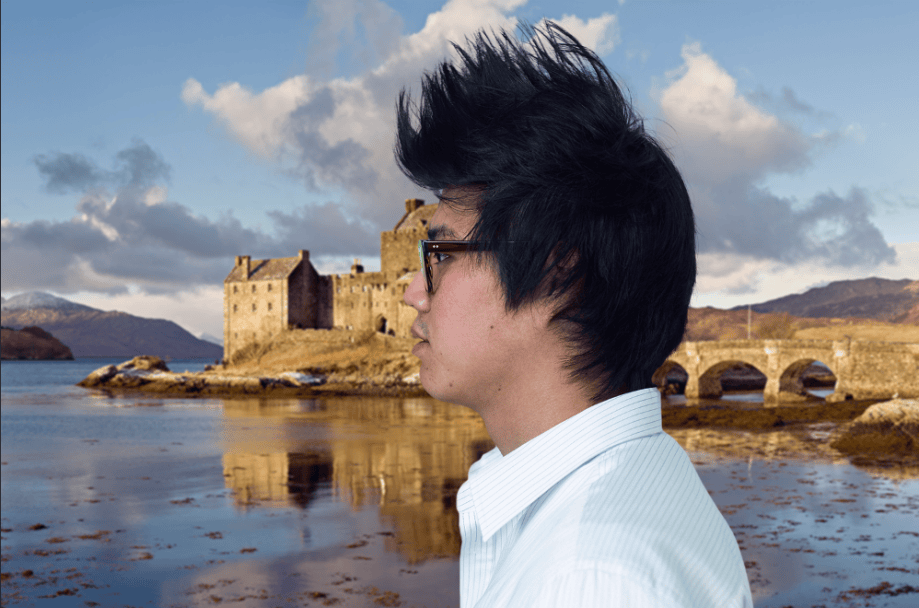
Now you can add as many backgrounds as you like. This one started with a heavy blue overcast, which is an easy fix and just needed me to remove the blue with a curves layer. You can do all of the colour correction in the Camera RAW filter which i find a lot easier and faster but i also tend to get distracted and play with all of the other settings in there to see what weird effects i can make.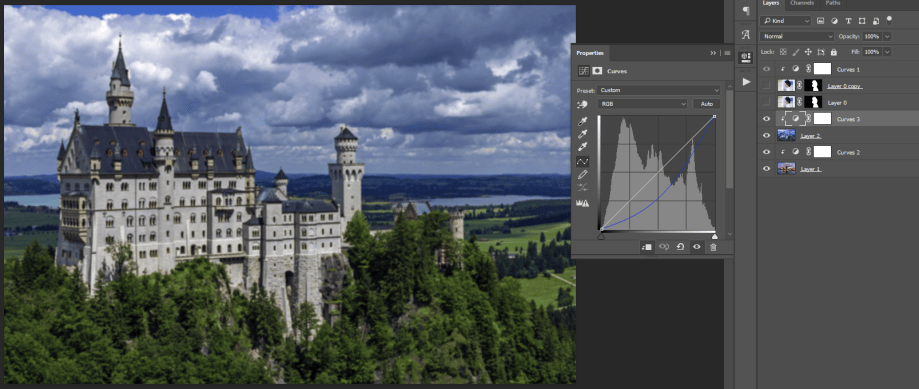
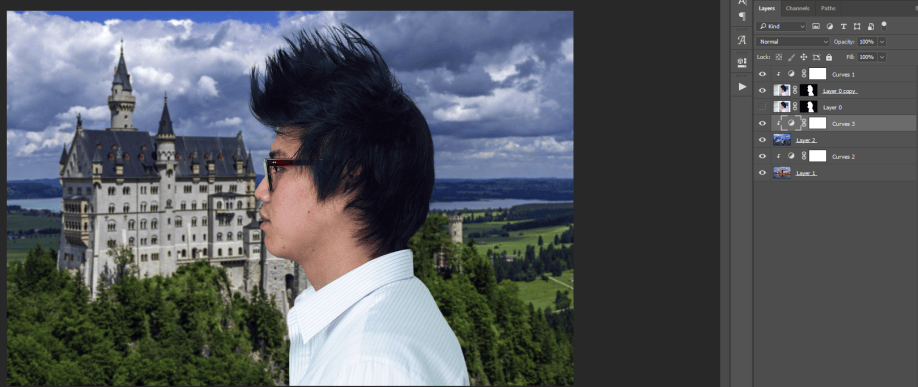
All you can really do with this tool is swap and change backgrounds and cut our the fiddly trees, fences, hair etc. But i think its more or less always noticeable when someone has been doing this because even if they use adjustment layers to alter the rest of the image to match. something still downs look quite right, you can almost always tell when something has been added too the image that isn’t supposed to be there.
Three Proverb Challenge –
Storm in a teacup
I don’t do drugs, I am drugs
Tide and Time wait for no man
These were a fun challenge that we had been set during the lesson. Its just a compilation or really basic techniques thrown together as we only had about 20 minutes per proverb. All i have used for these were layer masks, the opacity and the wave filter for the reflection.
This is some of the work that i have been messing around with in photoshop during this project.
These first 2 are really odd and interesting. The first one is the visualise spots effect that Camera RAW uses when you are using the spot heal tool to help you get a better view of the dust and speckles. And i spent a little while trying to work out how to recreate it. In the end it was as simple as using the edge glow filter on the yellow flower, adding a black & white layer and dragging the yellows all the way down to black, leaving the flower with a black outline. changing the density and the glow of the effect changes how much of the detail is preserved. Next i created a new layer, painted the whole thing black and then inverted the outline of the flower to white. Its kinda cool. Just looks like a filter from your phone however.
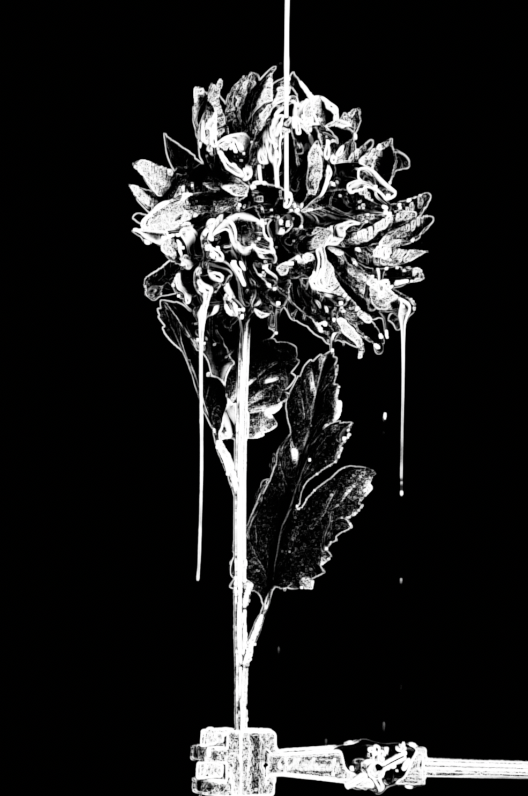
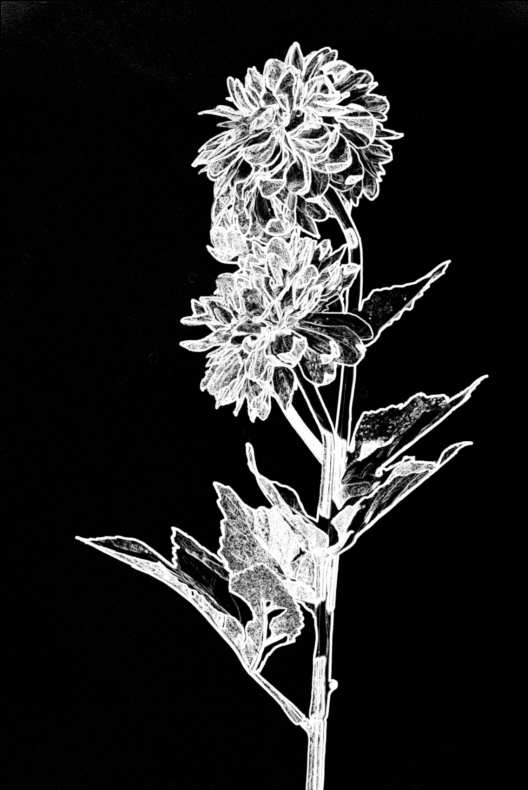
These 3 are a Corrupted VHS action that i downloaded. The action didn’t work originally because they order that they had recorded it in only worked with the files that they had as they all had specific names, and without knowing the names of the files i couldn’t get the action to select the right layer. meaning it just stopped part way in. after a couple of hours of testing and messing around with the action, i got it working and I’m really glad i did, because the result looks awesome. I love how it looks with the black and white flowers but i haven’t tried it with any of the others yet. I’m still not sure what the action does or how it creates the effect, it would be really easy to follow the steps for the action and repeat what it does. But i don’t need to do that now i have fixed the action because it does it all for me. The perks of being lazy 😀
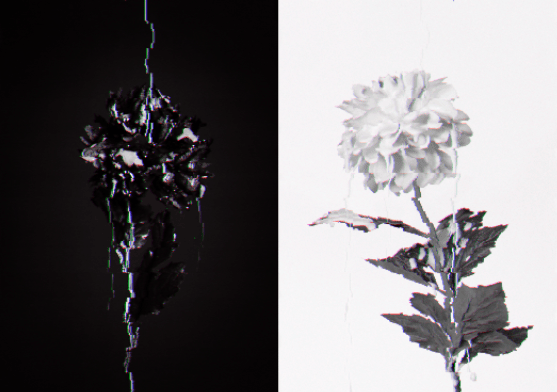
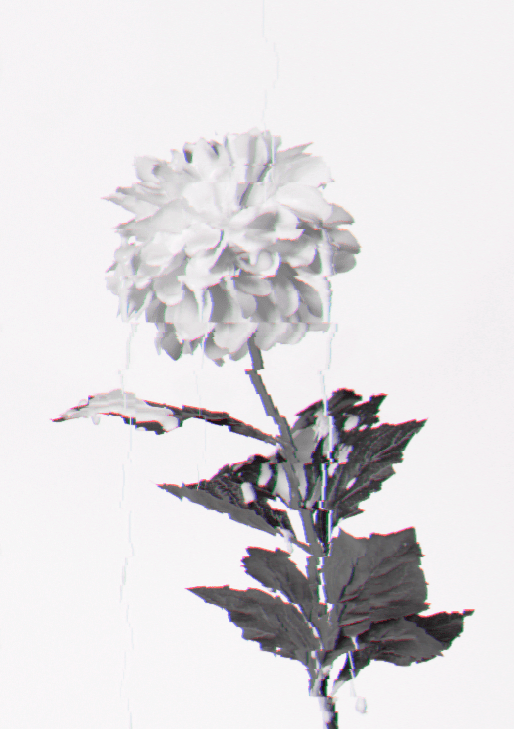
I have no idea what I’ve done here, but i love the effect. This is one of the image that I had taken a screenshot of when i was working with all of the actions but i don’t remember which one this was, or if this is one of the actions. I wish knew what id done but it just means that I’m going to have to do some testing on how to recreate this effect.
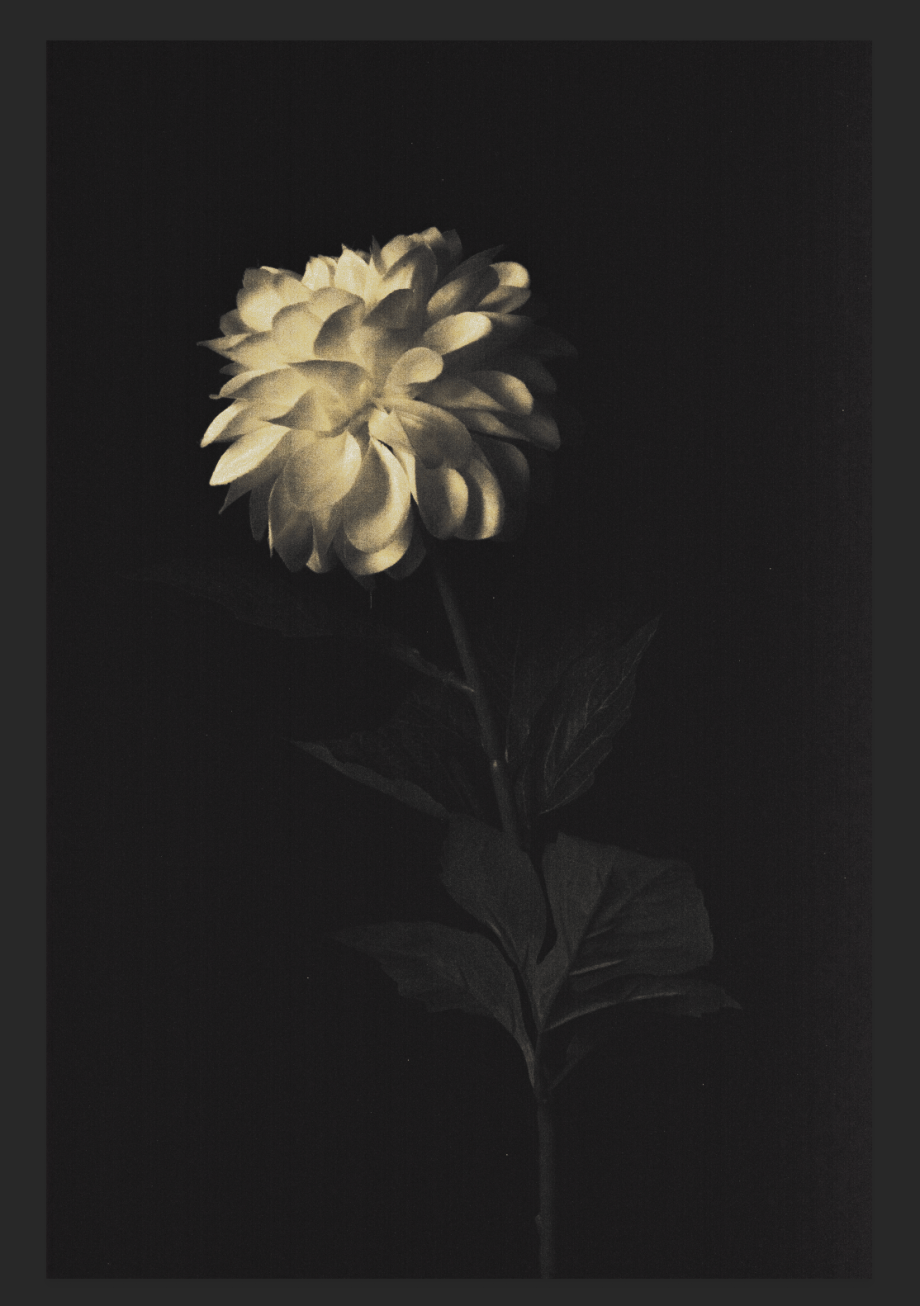
This session was all about sketch booking. Where you throw together a whole load of images and stack them on top of each other quickly and roughly to see how it will look. if you like the way that it looks at the end of the collage, then you can go into a lot more detail and take your time editing and putting it all together. This also works well for planning shoot ideas. If you want to spend time planning shoots properly, you can do a little bit of sketch booking at the start with some images from google, to see what the final product is going to look like and to get an idea of how to shoot it.
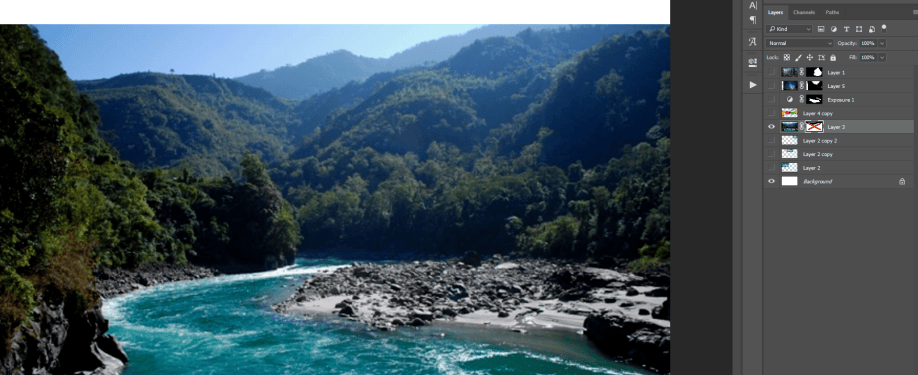
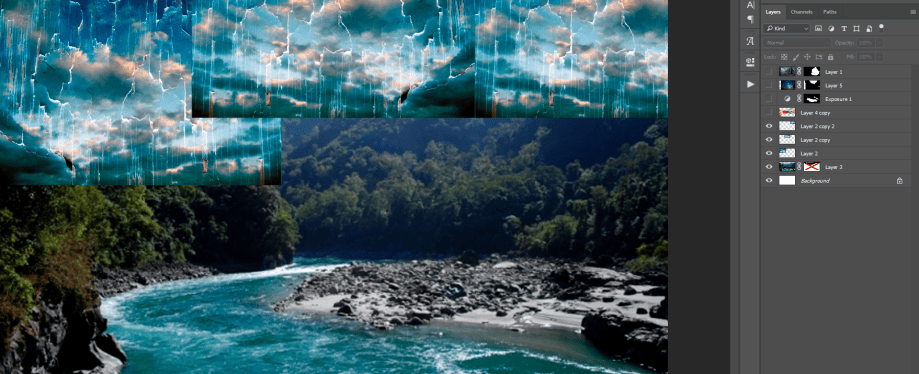
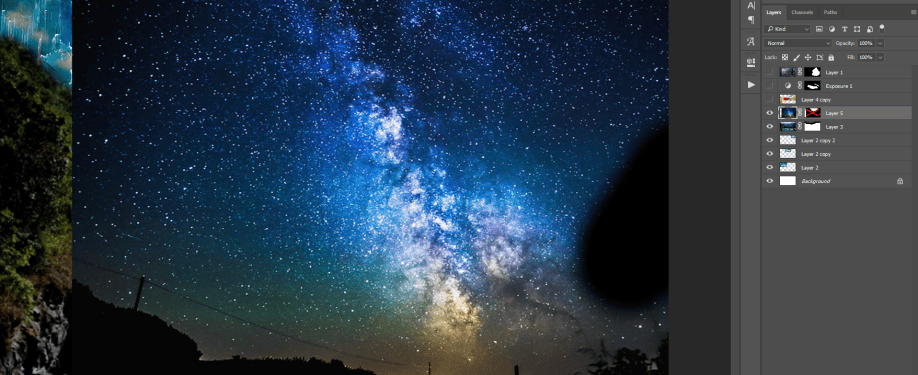
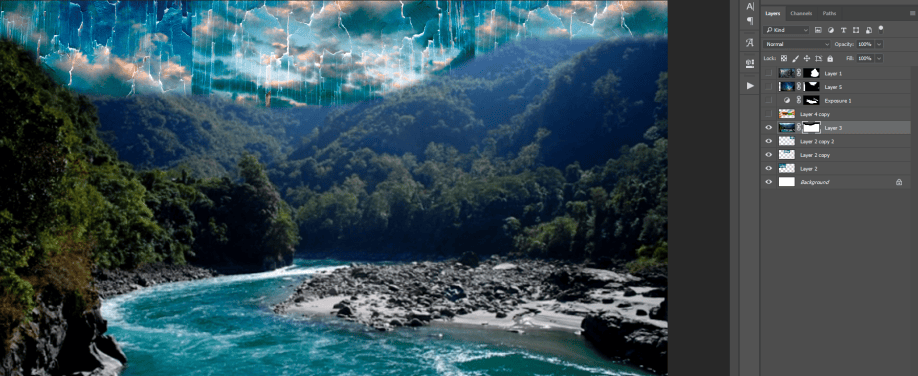
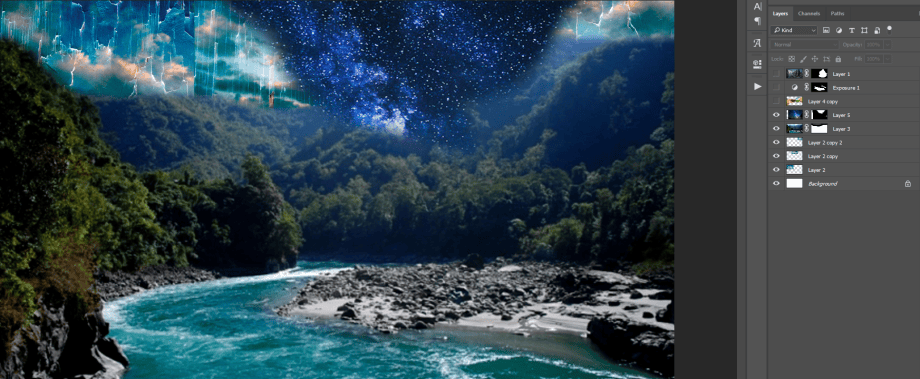
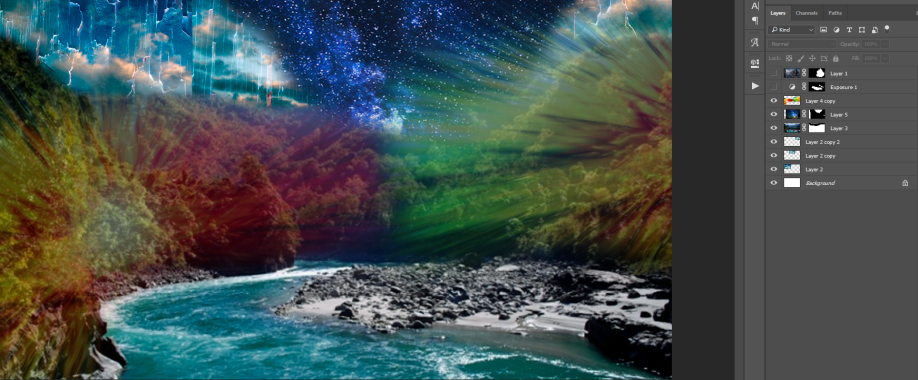
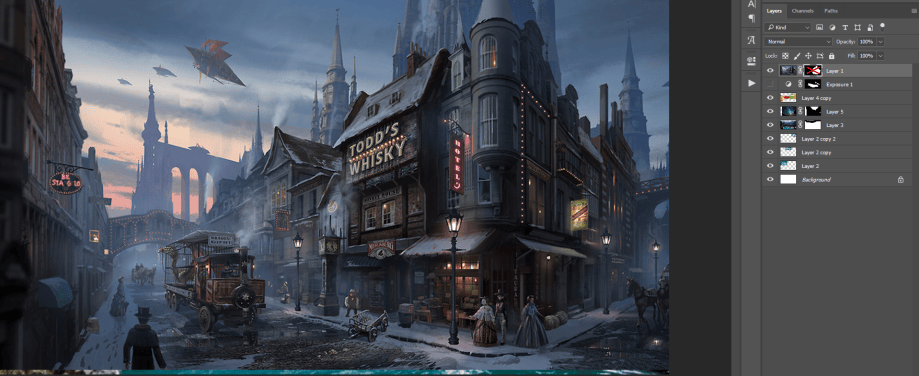
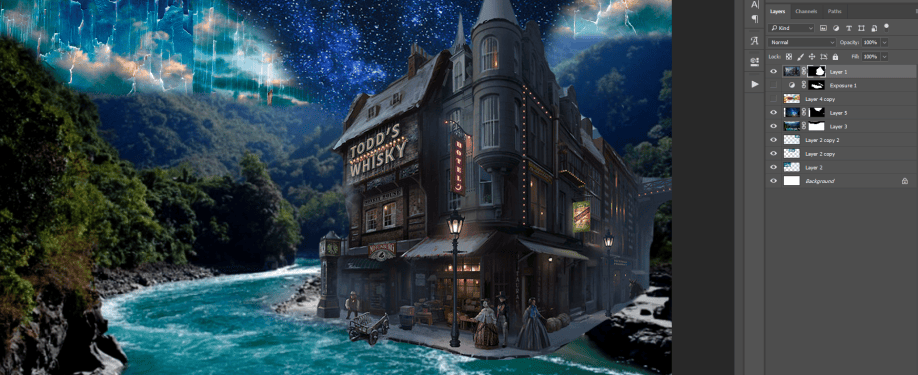
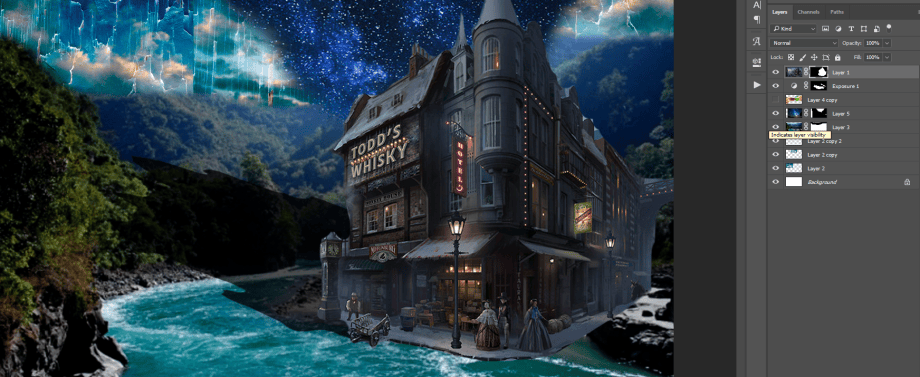
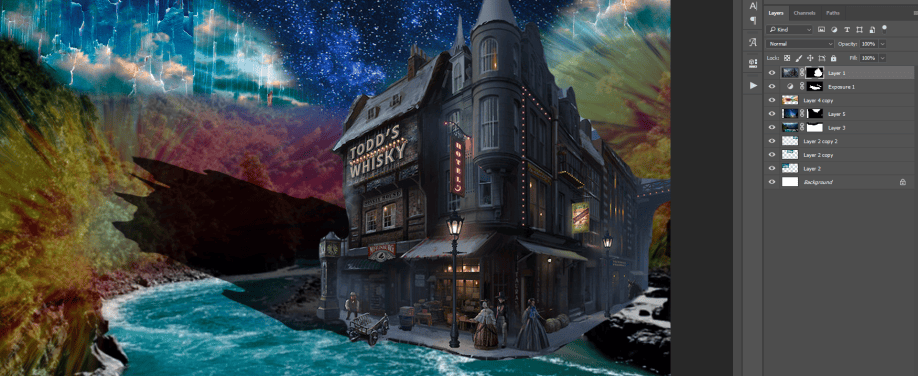
There is no point I’m having a guide for how to do this one. i cut so many corners and skipped half of the details myself. The only thing i really did properly in this was using layer masks instead of just using the eraser tool, but i did find myself going back and forth over some of the house when using the layer mask because i deleted too much or wasn’t paying attention and cut out the middle floor. This was really good fun, and i think i enjoyed it a lot more because i was using a whole bunch of random stuff that didn’t really it together and could never be photographed. So it made some weird little fantasy world.
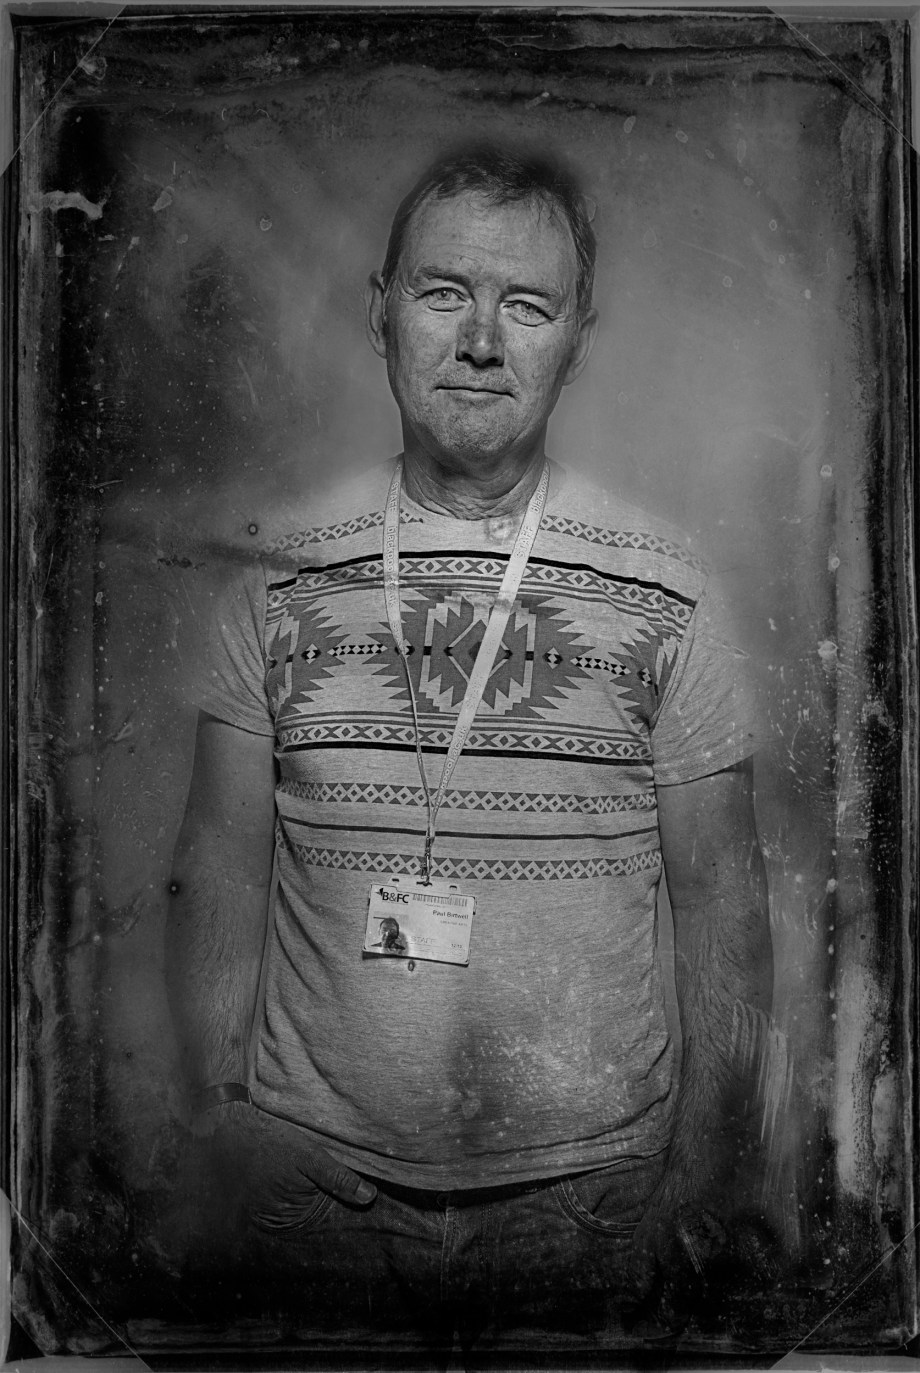
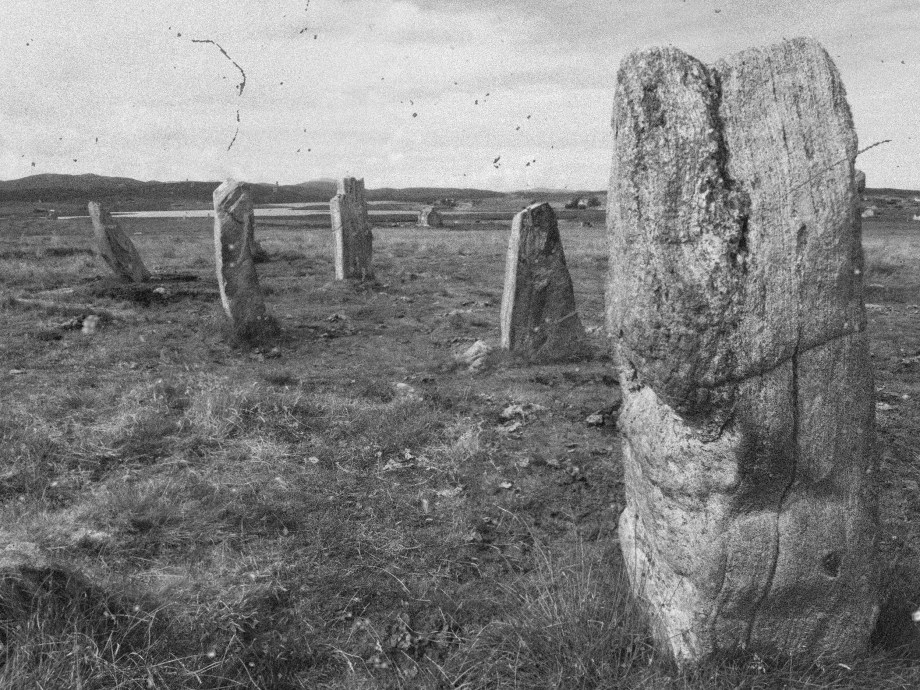
This was a simple lesson where we were given different old techniques that we had to try and recreate. The first one that i did was cyanotype (unfortunately the file is corrupted and wont open for some reason), the second was wet plate collodion and the third was just film grain.
This made use of a free wet plate collodion border texture that i found online, a Gaussian blur, a Black & White layer and very high contrast. I have never seen wet plate collodion first hand, so i wasn’t sure what the effect was that i was going for luckily there are a lot of guides online showing you how to recreate the style in photoshop.
I used a Gaussian blur to create the shallow depth of field by duplicating the layer and adding a layer mask. Then using a soft black brush i cut away at the main features of the portrait and
 HouseOfMadness